Garden tools and jigs · Guide 120
How to Make a Flat Garden String Winder
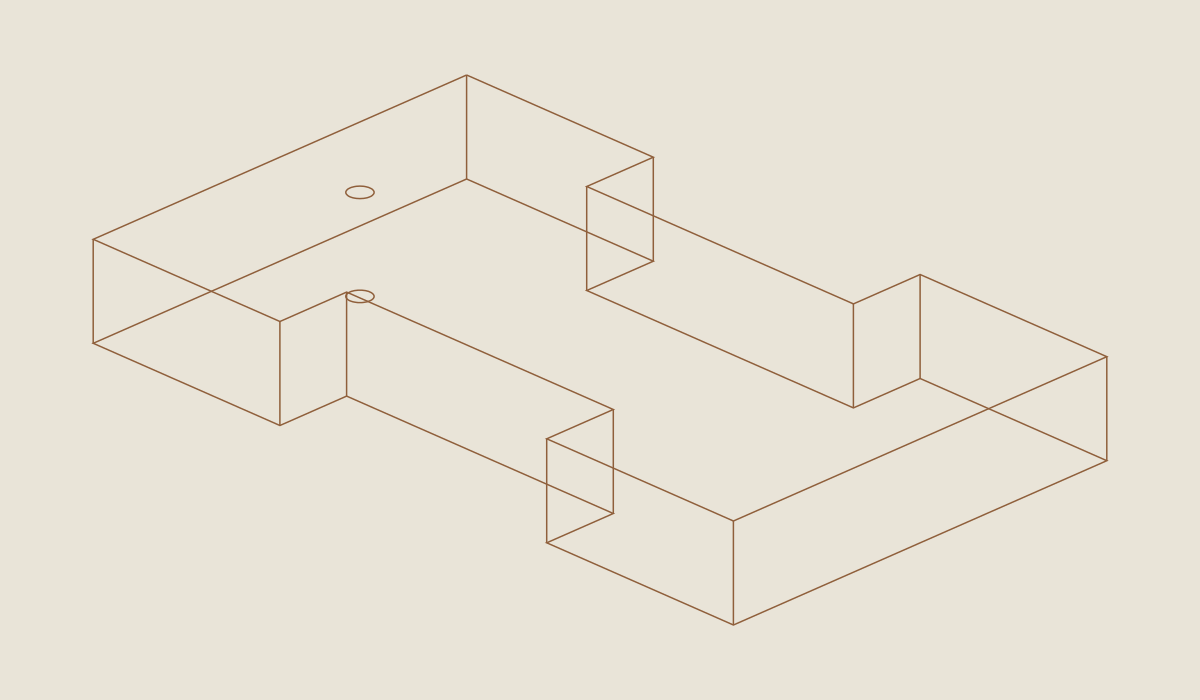
Keep a short garden-layout line organized on a small wooden winder with two opposing notches, a retention hole, and no moving axle.
01 / See the shape
View the project
Loading the 3D view…
Drag to turn. Pinch or use + / − to zoom. The written step covers workholding and tool use.
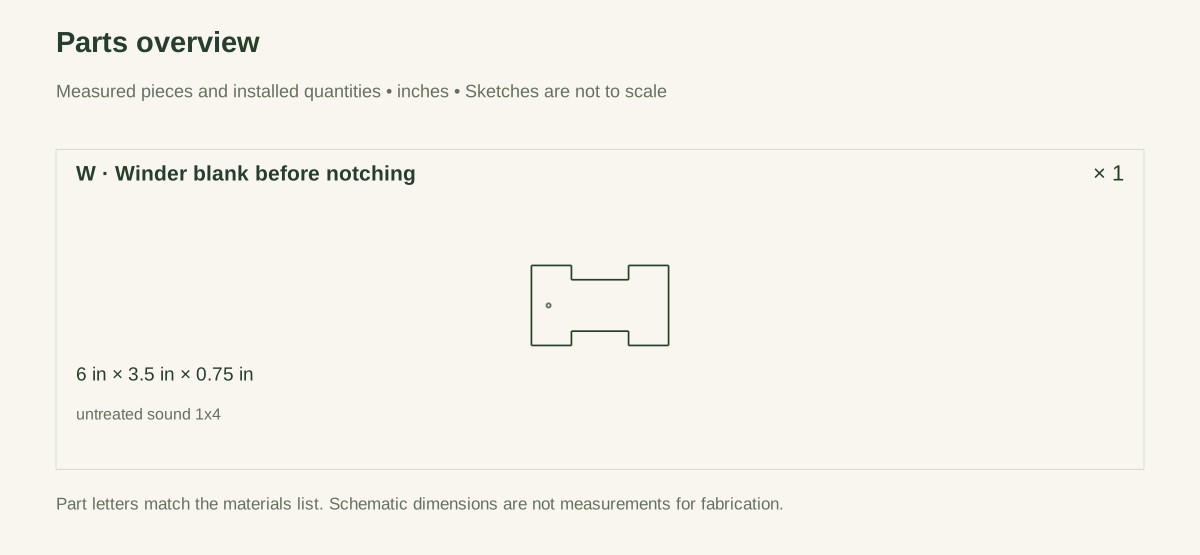
Scroll or swipe the enlarged drawing to read its dimensions. Choose Fit to see the whole drawing again.
Flat garden string winder. Check the dimensions and build steps before cutting.
02 / Plan your build
Before you start
A short reference line is useful until it becomes a tangled loop in a drawer. This winder keeps the line on a small, flat wooden shape with no axle, crank, or moving bearing. Two opposing notches hold the wraps near the middle, and a small hole gives the starting end a repeatable attachment point.
This is a storage and layout aid, not a tensioning device, lifting tool, structural tie, animal tether, or permanent garden barrier. Its job is to put a short line where you can find it, then let you wind that line away as soon as the marking task is finished. Do not leave loose loops near children, pets, equipment, or wildlife, and do not stretch a line across a walking route.
Where it goes
Temporary garden layout only, with line removed after marking. Keep loose loops away from children, pets, equipment, wildlife, and walking routes.
Footprint: 6 × 3-1/2 inches.
What to expect
Beginner hand-tool cutting and drilling with the small workpiece clamped. Plan 45–90 working minutes.
A planning estimate for the hands-on work, once the materials are bought and the tools are set up. It has not been timed on a finished build.
Check the spot
- Temporary garden layout only, with line removed after marking. Keep loose loops away from children, pets, equipment, wildlife, and walking routes.
- Measure the boards and hardware you actually bought before you cut, and set up a steady work surface. Keep other people back while you cut and drill.
Stop and check first if…
- Do not use as a lifting device, structural tie, tensioner, animal tether, or permanent barrier.
- Stop if a notch has a split, a line-contact edge snags, or the cord crowds the recesses.
- Do not substitute fishing monofilament, wire, or cutting cord. No line capacity, strength, or locking-force rating is established.
Work safely
- Use a rule, square, pencil, clamps with protective pads, a supported hand saw for the blank, a coping saw or other safely controlled fine-cutting tool for the notches, a drill with a 3/16-inch bit, sacrificial backing, and abrasive paper. A bench vise or clamped fixture must hold the part without crushing it.
- Wear eye protection and use appropriate dust control. Keep the saw's path and the drill's exit side clear. Clamp the blank for drilling; OSHA notes that a drill catching unsecured stock can turn the work itself into a moving hazard. For sawing, do not put fingers behind the intended cut or hold a short blank loose beside a running blade.
- No stakes, anchors, ground penetration, wall attachment, or utility work is included. The cord is used only for a temporary visible reference under direct supervision, with endpoints arranged by a separately suitable method that does not create a trip or entanglement hazard.
- Do not use as a lifting device, structural tie, tensioner, animal tether, or permanent barrier.
- Stop if a notch has a split, a line-contact edge snags, or the cord crowds the recesses.
- Do not substitute fishing monofilament, wire, or cutting cord. No line capacity, strength, or locking-force rating is established.
Budget
We have not put a price on this one yet. Lumber and hardware prices change by store and season, so price the list under What you need at your local supplier before you buy.
03 / Gather and cut
What you need
Winder stock
1 piece
Straight untreated 1 × 4; actual section 0.75 × 3.5 inches, with a clear unsplit central web. One 4-foot board or a verified clean offcut allowing a 6-inch finished blank plus kerf.
Cut the opposing 2.5 × 0.625-inch notches from the shared datum; 2.25 inches remains between the recesses.
Layout cord
15 feet for trial
Easily visible flexible braided cotton or polyester; trial diameter approximately 1/16 inch. A 15-foot trial length, not a certified winding capacity.
Must fit the 3/16-inch retention hole and wind loosely. Store without loose loops after every temporary layout task.
Marking and abrasives
As needed consumables
Pencil or marking pen and suitable fine abrasives. Small existing supplies or pack.
No screws, glue, metal axle, dowel, finish, or blade-like ground point is included.
Cut list
| Piece | How many | Cut length | Note |
|---|---|---|---|
| W — Winder blank before notching | 1 | 6 in | Part W, cut from untreated sound 1x4. Size: 6 × 3.5 × 0.75 in. Check the plan sheets for its reference edges and any shaped detail. |
Tools
- Rule, square, and pencil
- Clamps, stable work surface, and sacrificial backing
- Controlled hand saw or suitable supported small-stock cutting method
- Drill with a suitable 3/16-inch bit
- Fine abrasives for notches, hole, and all line-contact edges
Protective gear
- Eye protection for cutting and drilling; match other protection to the actual tool instructions.
- Appropriate hearing protection and wood-dust control for the selected cutting method.
04 / Put it together
Build steps
- 01
Inspect and mark the reference blank
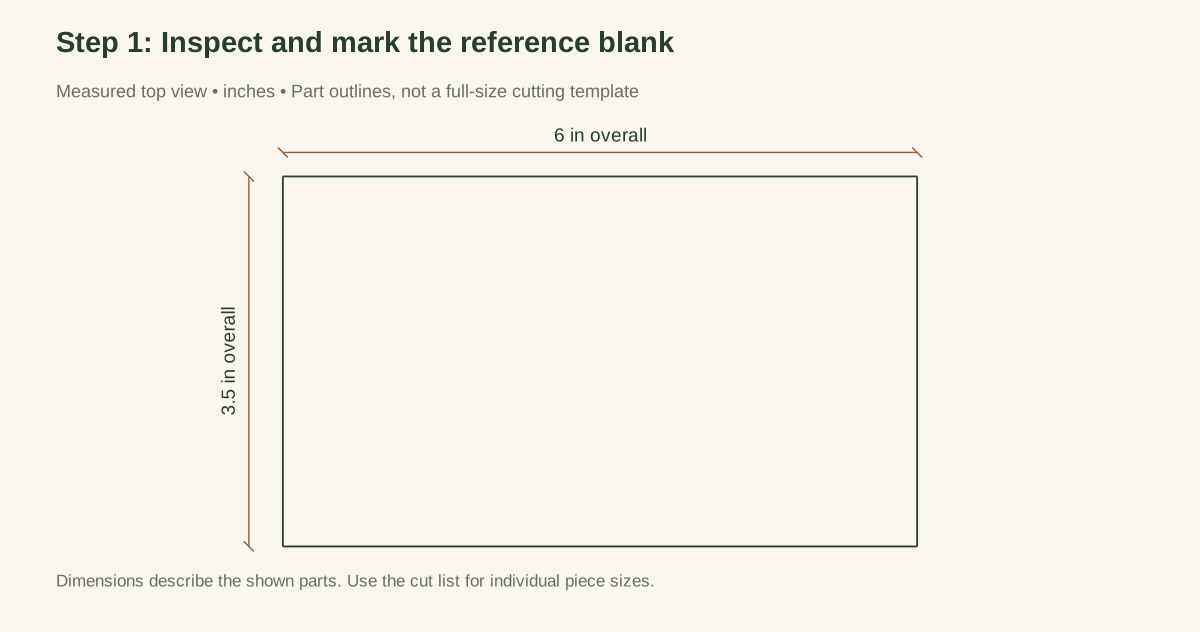
Measure the board's actual width and thickness. This plan uses 3-1/2 × 3/4. Mark a 6-inch length in sound wood, identifying the left and bottom datum edges on the face. If the stock is a different section, recheck the notch and remaining wood against the drawing before cutting.
Close-up · Whole model shows the complete part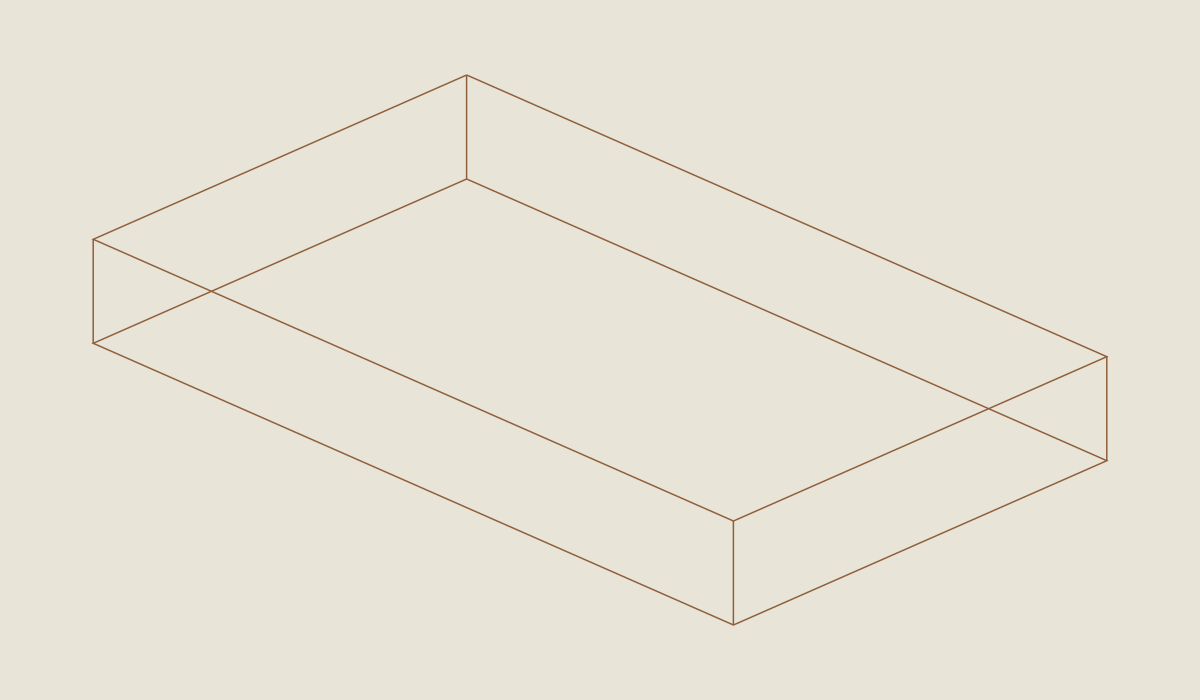
Loading the 3D view…
Drag to turn. Pinch or use + / − to zoom. The written step covers workholding and tool use.
Scroll or swipe the enlarged drawing to read its dimensions. Choose Fit to see the whole drawing again.
Check: The sound blank matches the 3-1/2 × 3/4-inch stock section before the profile is marked.
- 02
Cut the blank square
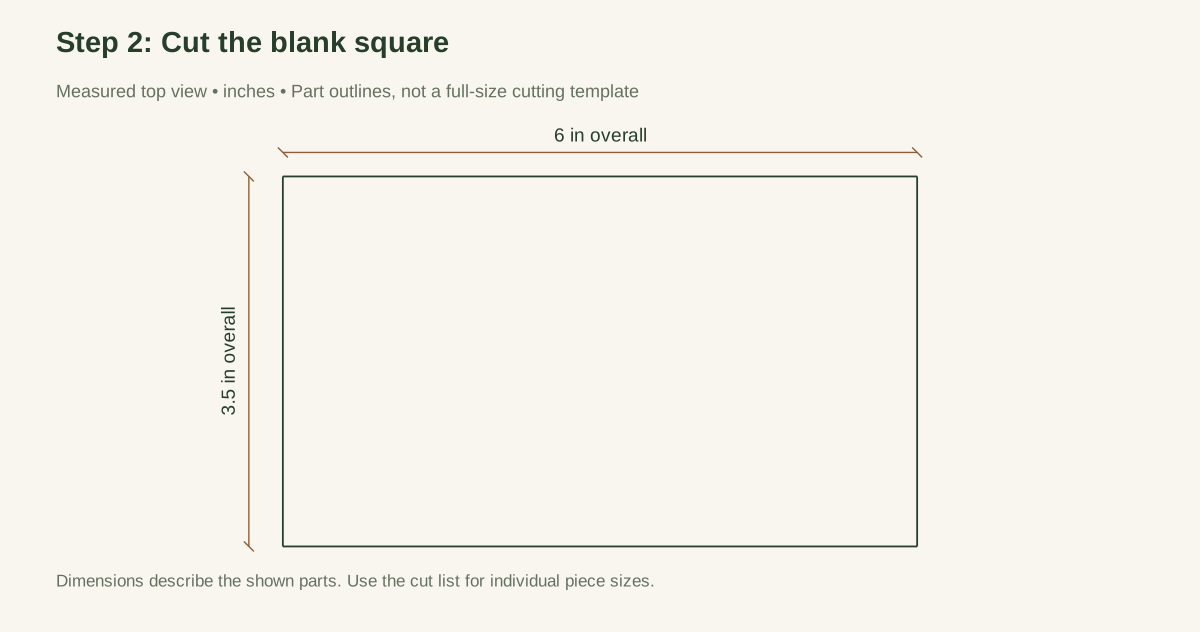
Clamp the board on a supported cutting surface and cut on the waste side of the line. Keep the offcut supported without trapping the saw blade. Check that the finished rectangle is 6 × 3-1/2 and that the short ends are square. A proposed shop target is within 1/32 inch for these dimensions. Smooth only enough to remove loose fibers at this stage.
Close-up · Whole model shows the complete part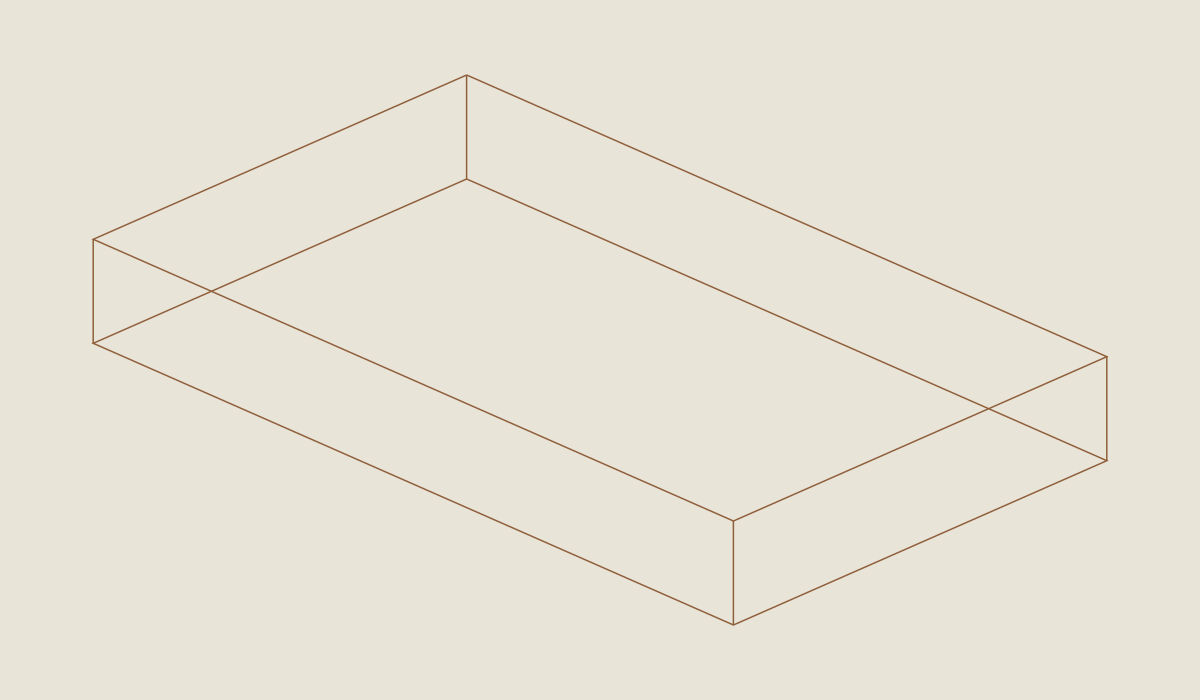
Loading the 3D view…
Drag to turn. Pinch or use + / − to zoom. The written step covers workholding and tool use.
Scroll or swipe the enlarged drawing to read its dimensions. Choose Fit to see the whole drawing again.
Check: The finished outside blank is 6 × 3-1/2 inches with square ends.
- 03
Mark the two notch sides from the left datum
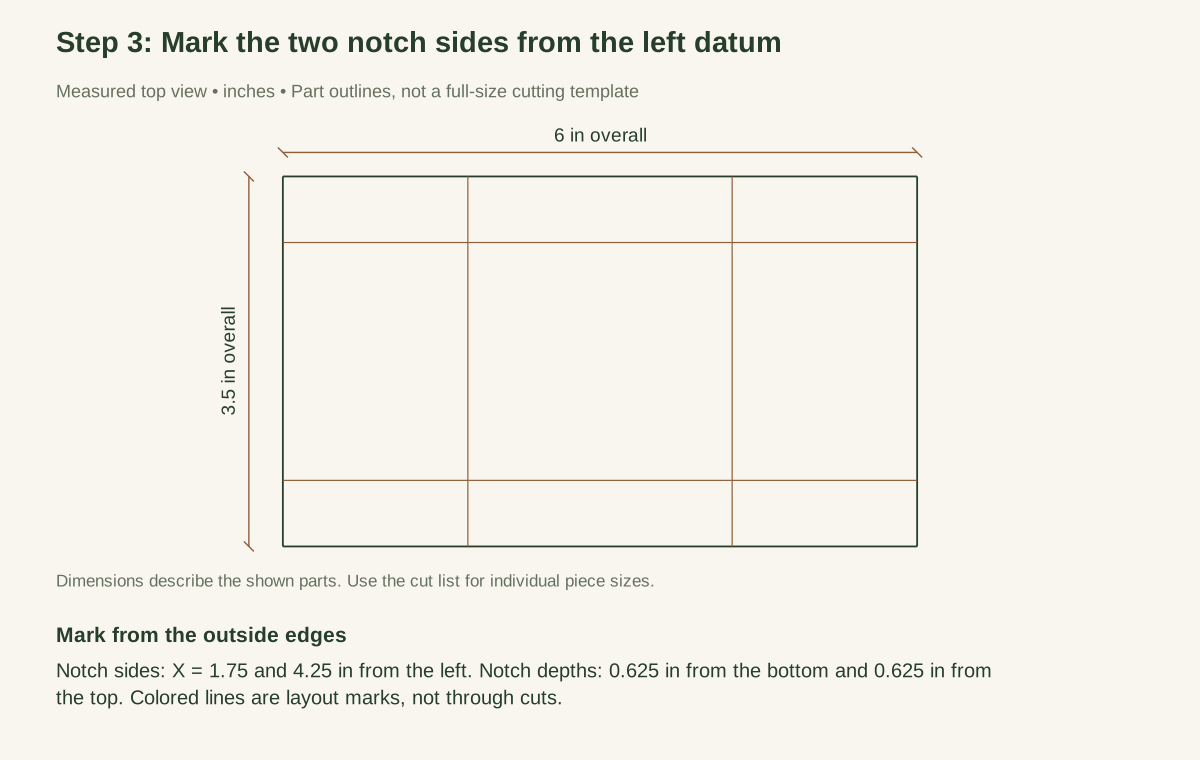
On the face, draw lines at 1-3/4 and 4-1/4 inches from the left edge. Those are the sides of both notches. Their separation is 2-1/2 inches, and the wood left at either end is 1-3/4 inches. Measuring both sides from one datum avoids a visibly off-center recess.
Close-up · Whole model shows the complete part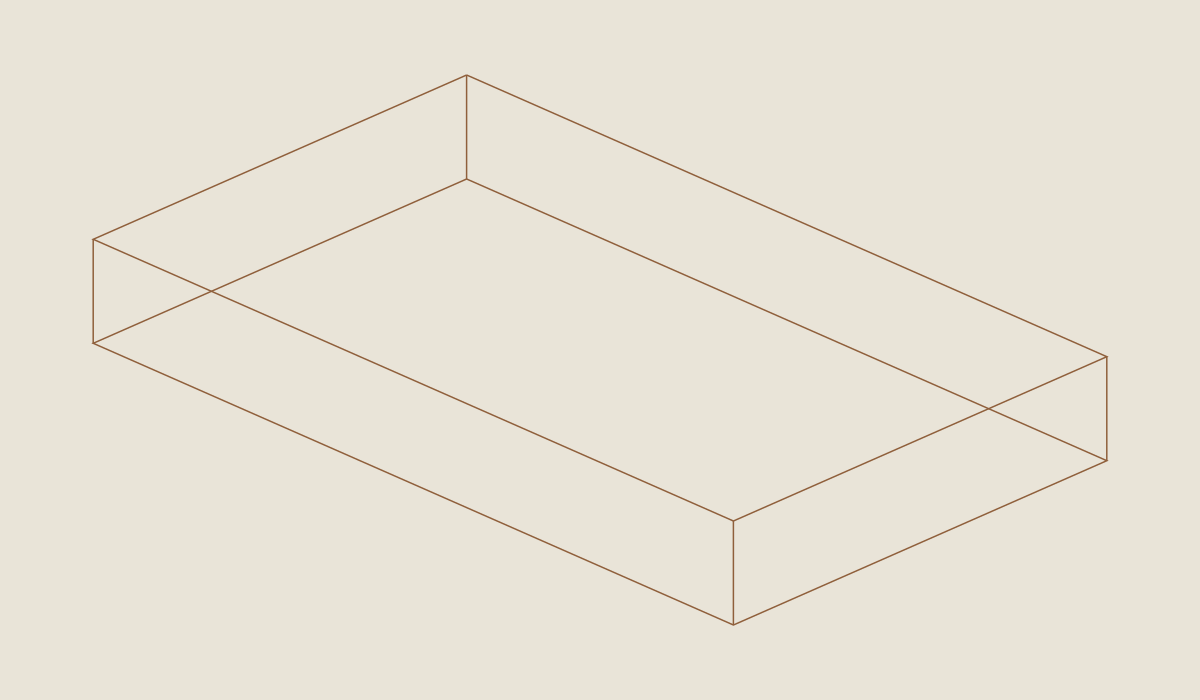
Loading the 3D view…
Drag to turn. Pinch or use + / − to zoom. The written step covers workholding and tool use.
Scroll or swipe the enlarged drawing to read its dimensions. Choose Fit to see the whole drawing again.
Check: The two notch sides are measured from the same left datum and define a centered 2-1/2-inch width.
- 04
Mark the notch depths from the outer edges
From the bottom edge, mark a line 5/8 inch high between the notch sides. From the top edge, mark 5/8 inch downward; measured from the bottom, that upper notch floor is at 2-7/8 inches. Shade the two waste rectangles. The solid distance between the notch floors must be 2-1/4 inches.
Close-up · Whole model shows the complete part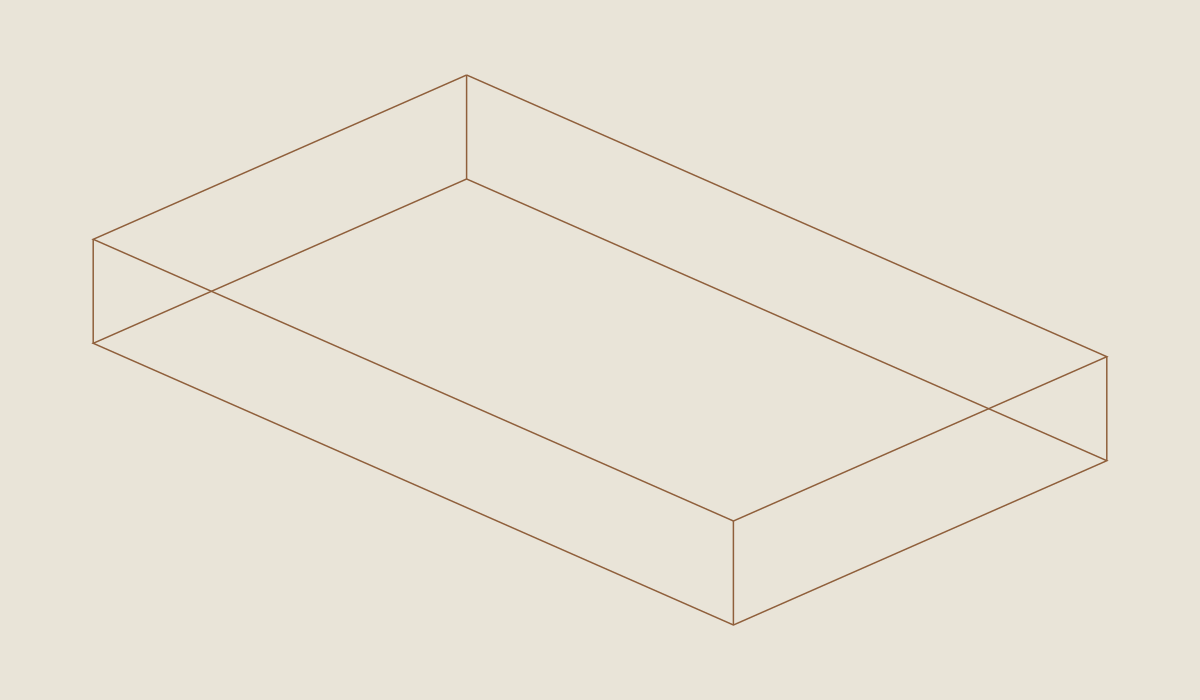
Loading the 3D view…
Drag to turn. Pinch or use + / − to zoom. The written step covers workholding and tool use.
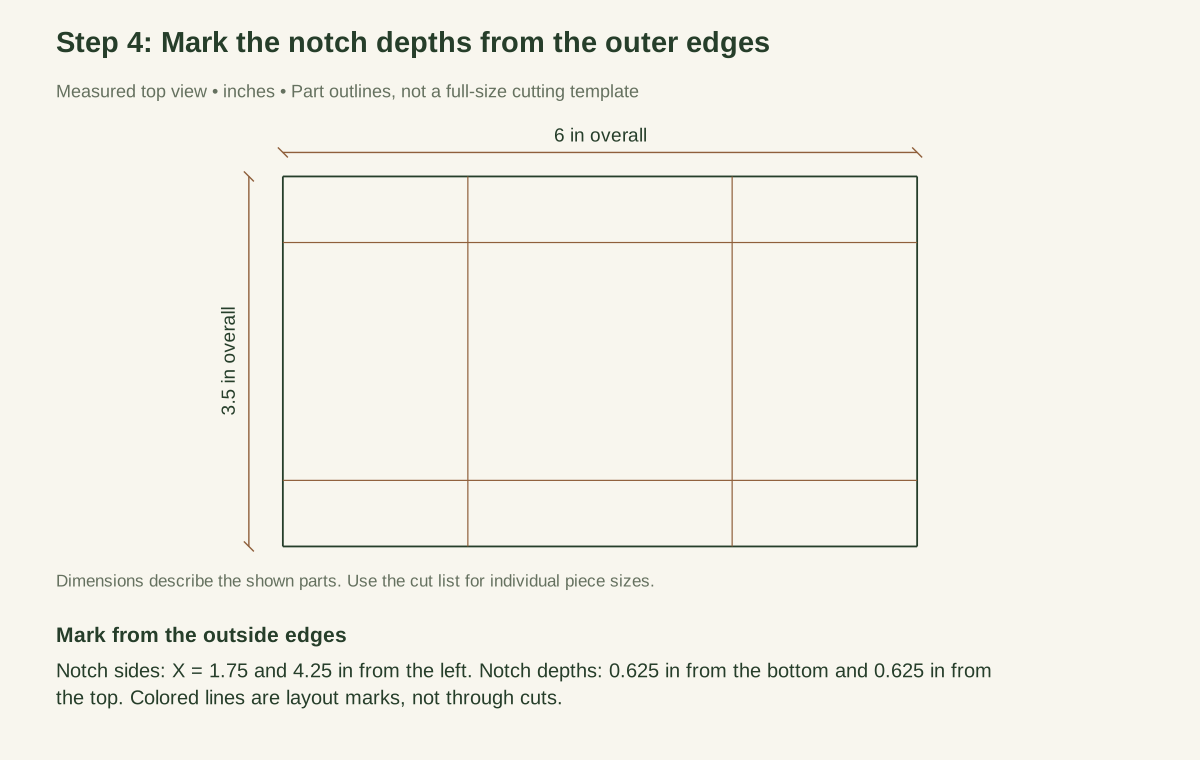
Scroll or swipe the enlarged drawing to read its dimensions. Choose Fit to see the whole drawing again.
Check: Top and bottom notch depths are 5/8 inch, leaving a continuous 2-1/4-inch web.
- 05
Cut the first notch under control
Clamp the blank so the first notch waste is accessible and the retained web is supported. Cut down the two marked sides to the depth line, then remove the waste with a controlled coping-saw cut. Do not force a blade around a turn it cannot make or snap the waste out with a chisel used toward the hand. Leave a little material for final fitting rather than sawing into the central web.
Close-up · Whole model shows the complete part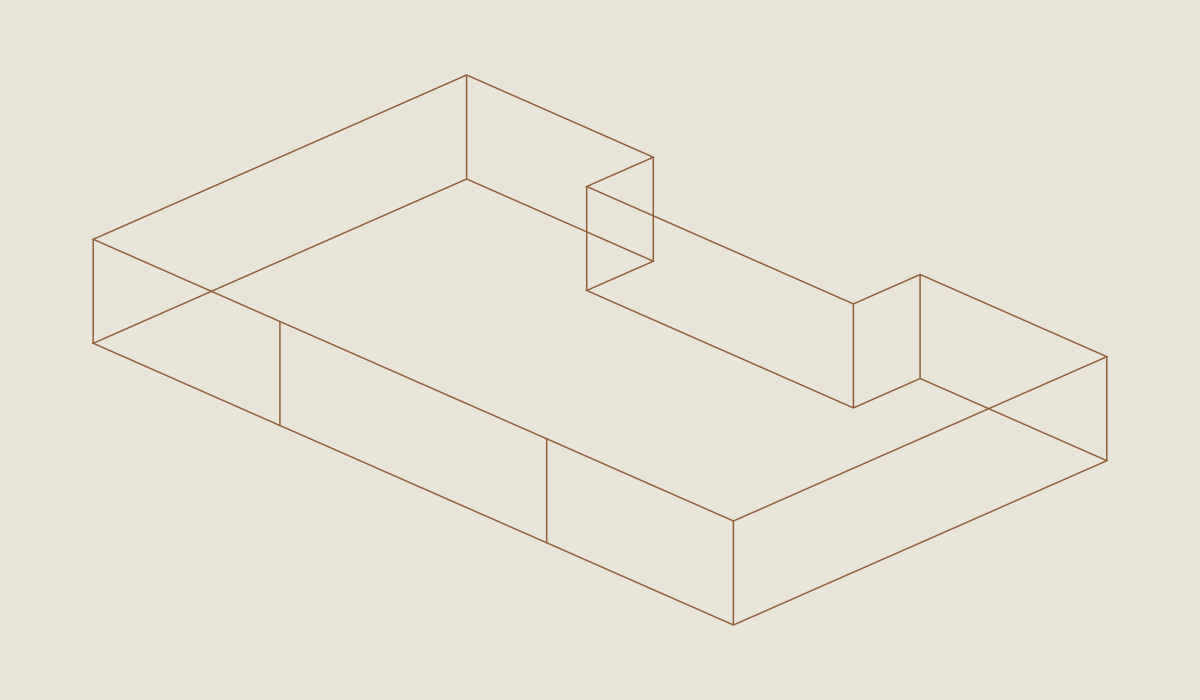
Loading the 3D view…
Drag to turn. Pinch or use + / − to zoom. The written step covers workholding and tool use.
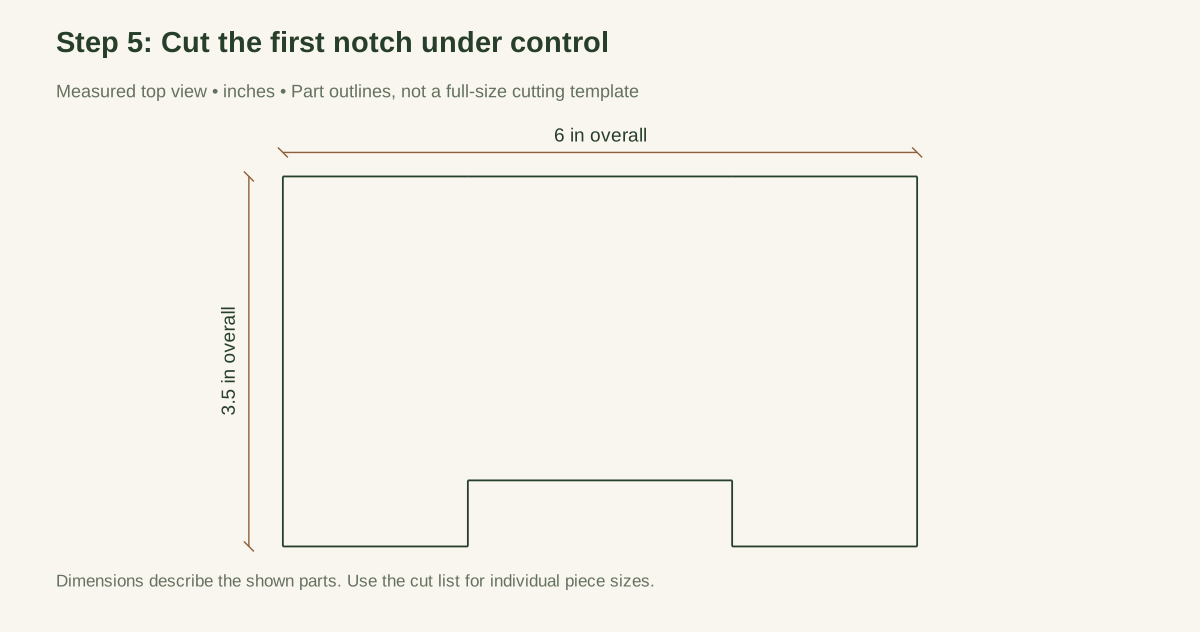
Scroll or swipe the enlarged drawing to read its dimensions. Choose Fit to see the whole drawing again.
One notch is cut. Reposition and reclamp before cutting the other.
Check: The first notch is cut under clamps without splitting or levering waste toward a hand.
- 06
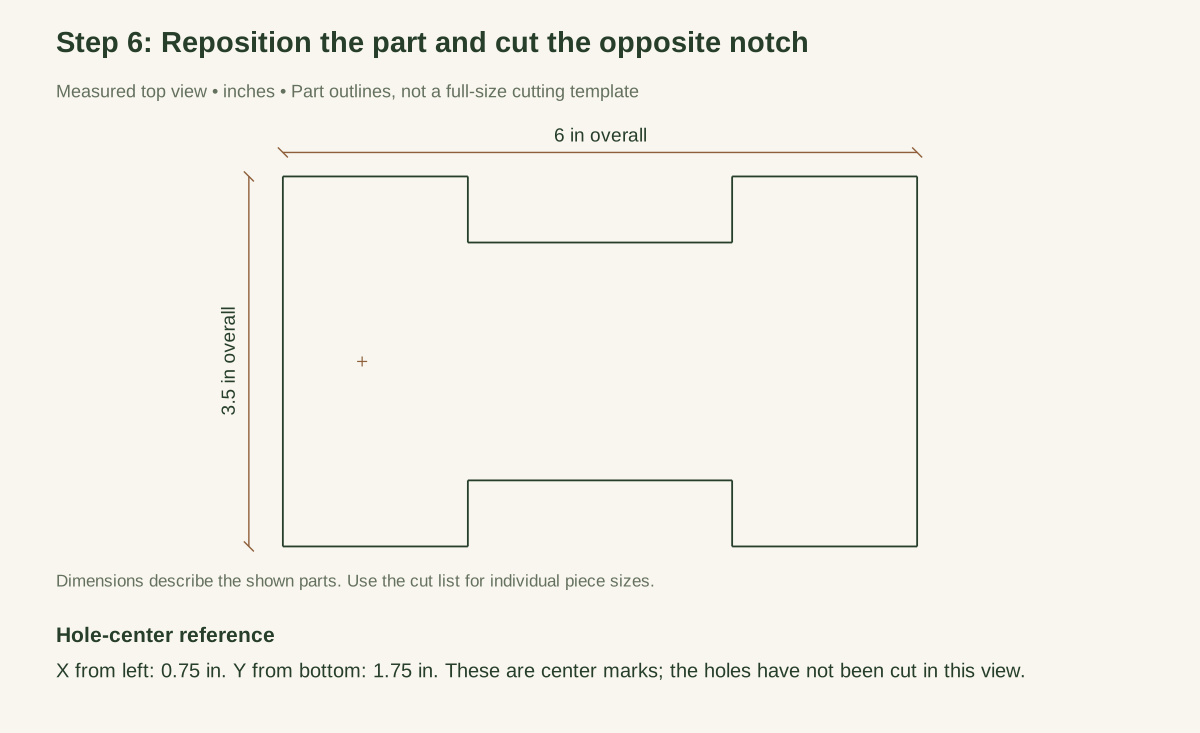
Reposition the part and cut the opposite notch
Stop and reposition the fixture instead of turning a loose part in front of a moving blade. Cut the second notch to its marks. Compare both widths and depths. The opposing recesses should align, leaving a continuous central web with no crack running from an inside corner. Reject a damaged blank rather than filling the crack cosmetically.
Close-up · Whole model shows the complete part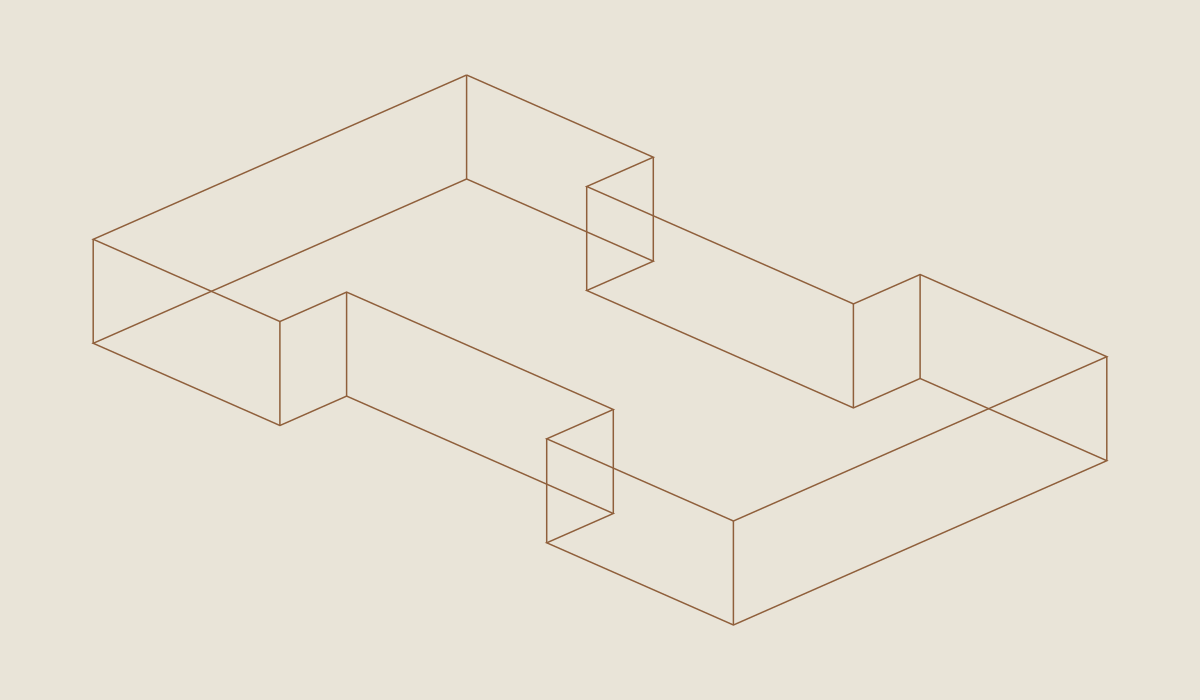
Loading the 3D view…
Drag to turn. Pinch or use + / − to zoom. The written step covers workholding and tool use.
Scroll or swipe the enlarged drawing to read its dimensions. Choose Fit to see the whole drawing again.
Check: The opposing notch aligns with the first; no crack extends into the remaining web.
- 07
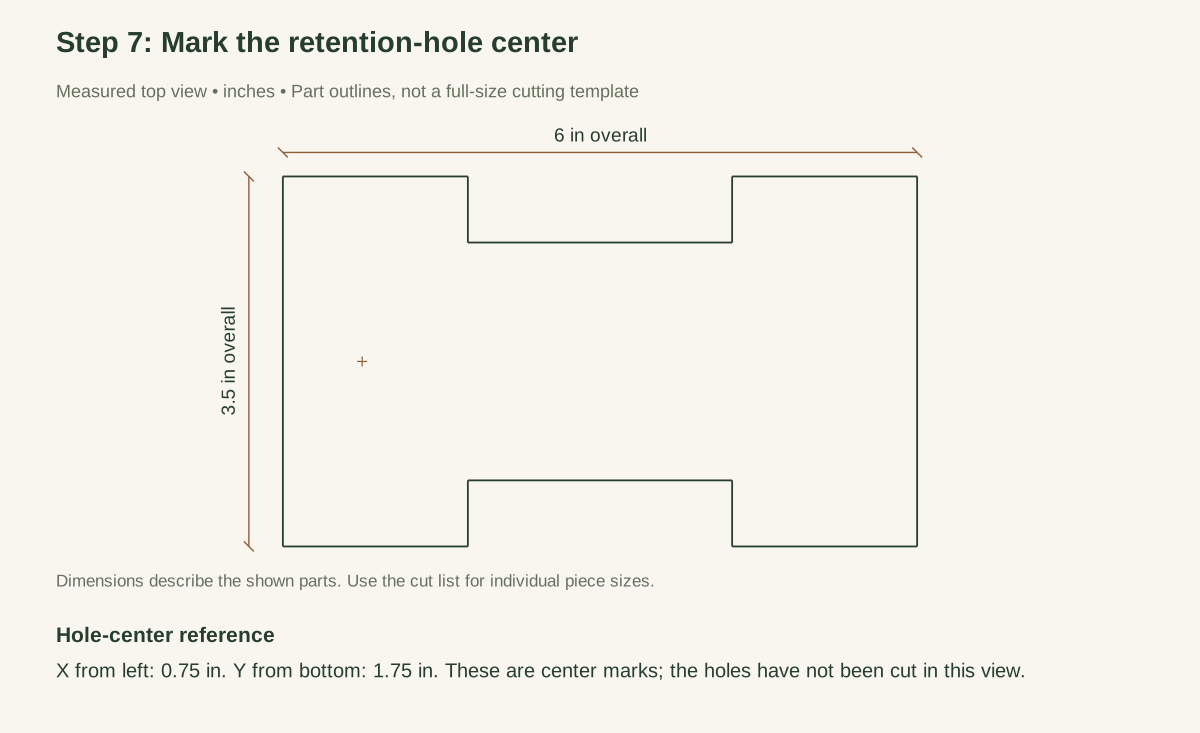
Mark the retention-hole center
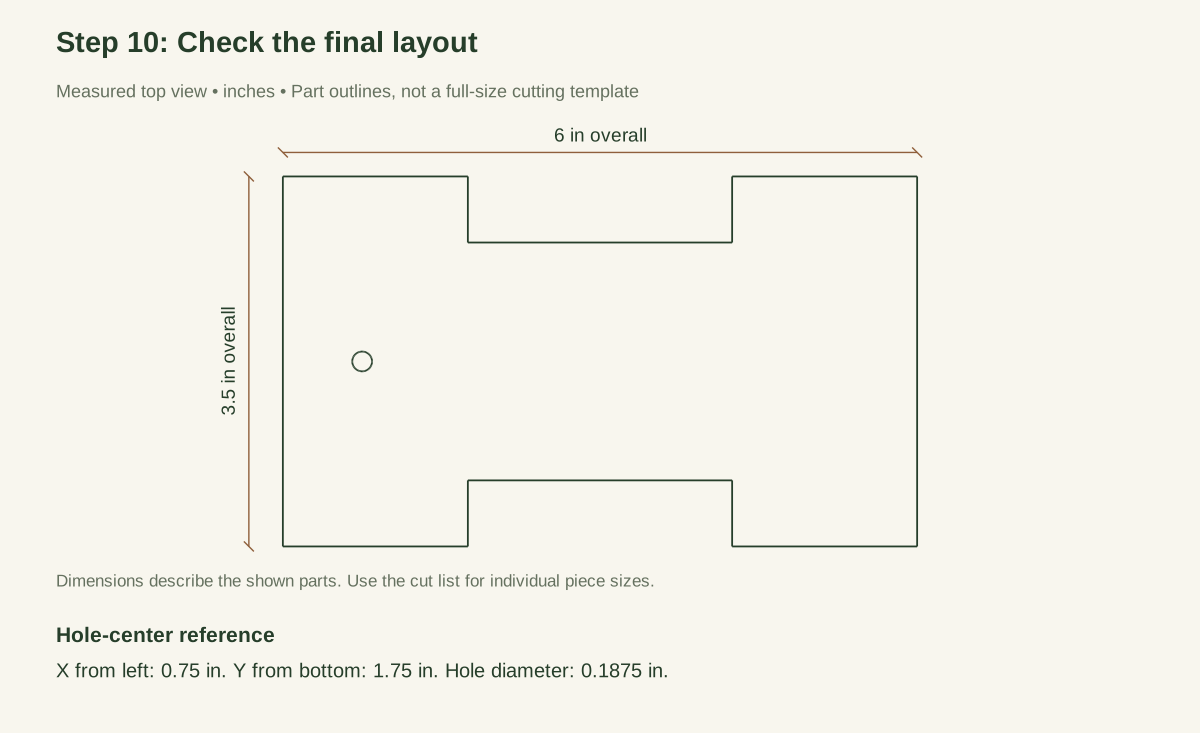
Measure 3/4 inch from the left end and 1-3/4 inches from the bottom. Cross those marks with a square. The hole is in the full-height end area, away from the central notches. Do not place it by estimating the middle of the remaining wood after cutting.
Close-up · Whole model shows the complete part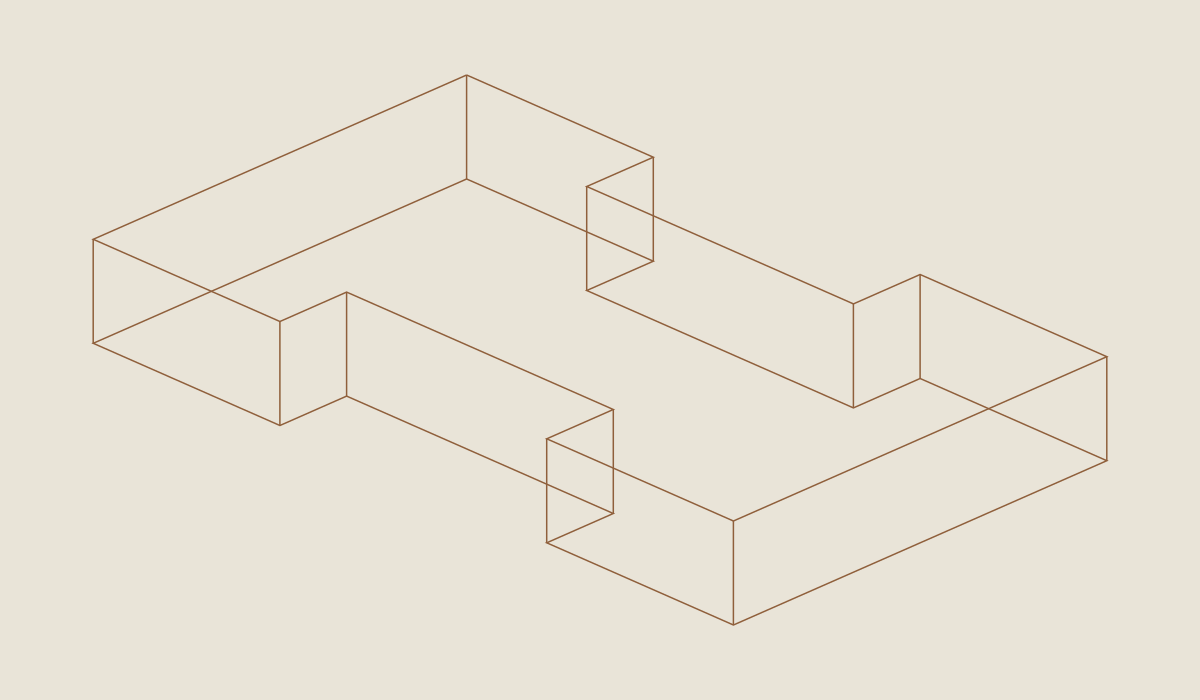
Loading the 3D view…
Drag to turn. Pinch or use + / − to zoom. The written step covers workholding and tool use.
Scroll or swipe the enlarged drawing to read its dimensions. Choose Fit to see the whole drawing again.
Check: The retention-hole center is marked from the original datums rather than estimated from cut edges.
- 08
Drill over sacrificial backing
Clamp the blank flat to backing and drill the 3/16-inch through hole perpendicular to the face. Keep the drill bit out of the clamp. Inspect both faces for breakout before removing the fixture. Use a small abrasive or deburring tool to remove fibers at the hole without enlarging it unnecessarily.
Close-up · Whole model shows the complete part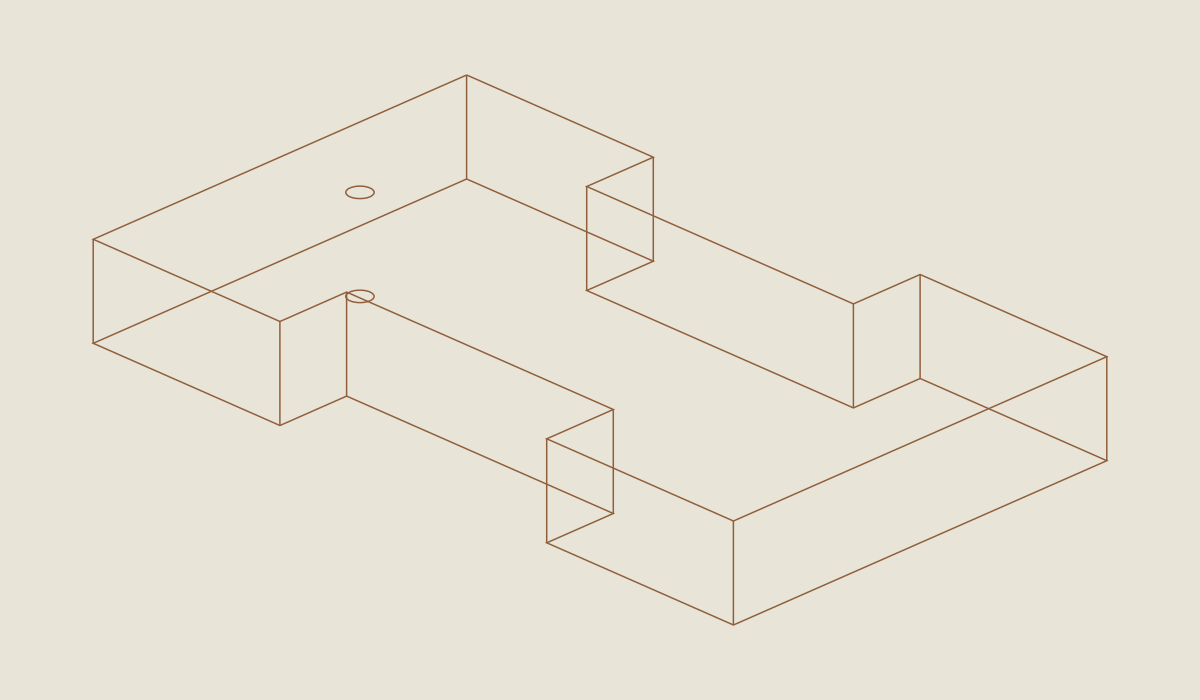
Loading the 3D view…
Drag to turn. Pinch or use + / − to zoom. The written step covers workholding and tool use.
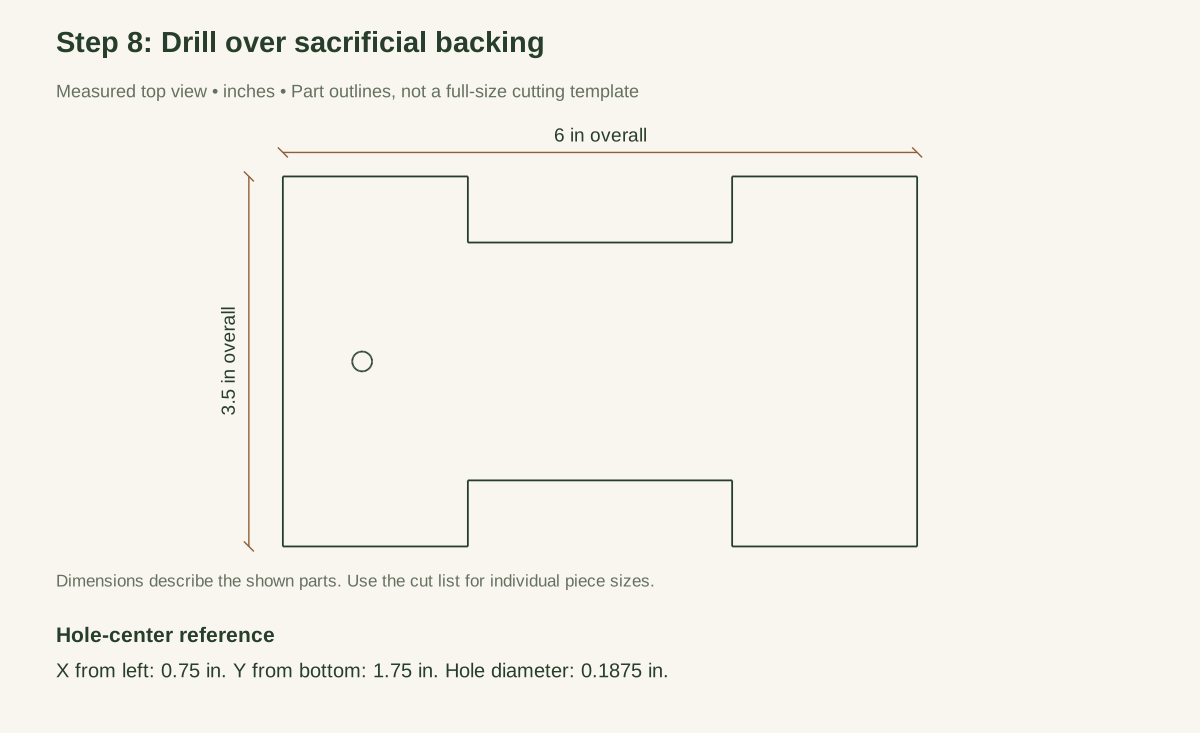
Scroll or swipe the enlarged drawing to read its dimensions. Choose Fit to see the whole drawing again.
Check: The small through-hole is drilled with the work clamped and backed; both exits are sound.
- 09
Smooth every surface the line will touch
Work through the notch floors, the inside corners, both faces, and all outside edges. Remove sharp arrises with a small edge break, approximately 1/32 inch, without removing enough material to change the profile. Run a short piece of the selected cord over each contact edge to check for snagging or abrasion. A smooth-looking edge that catches fibers still needs work.
Do not thin the central web to make the winder appear more sculpted. Keep the nominal profile and record any deliberate geometry change before continuing with the measured plan.
Close-up · Whole model shows the complete part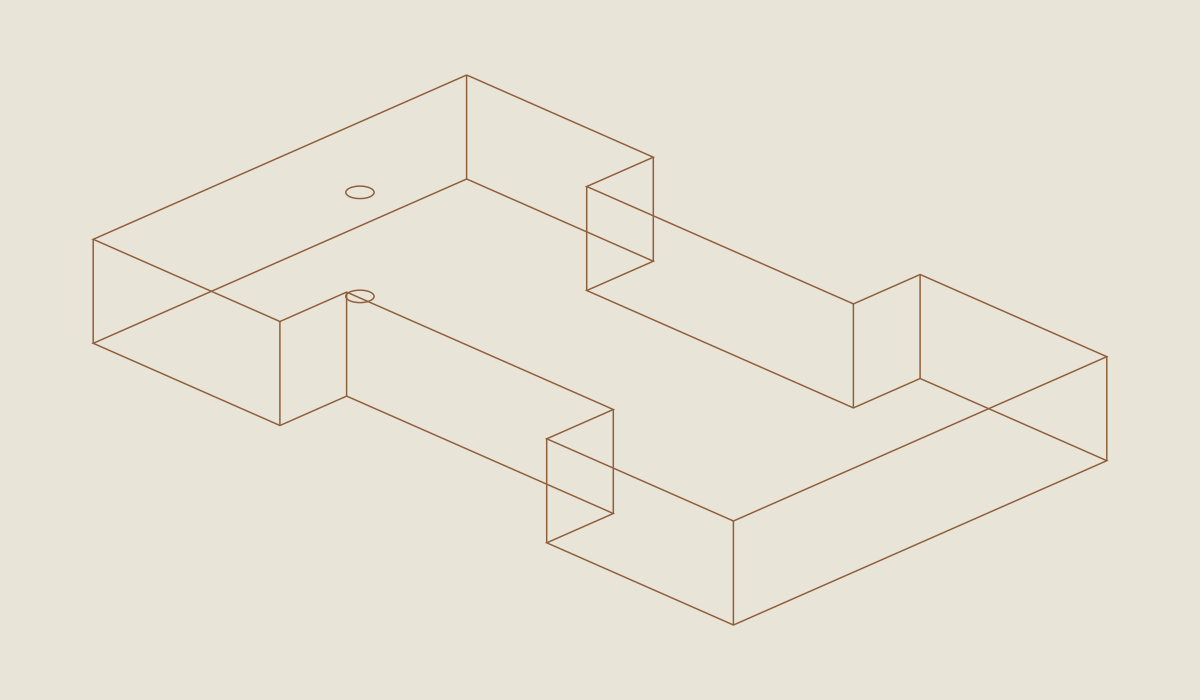
Loading the 3D view…
Drag to turn. Pinch or use + / − to zoom. The written step covers workholding and tool use.
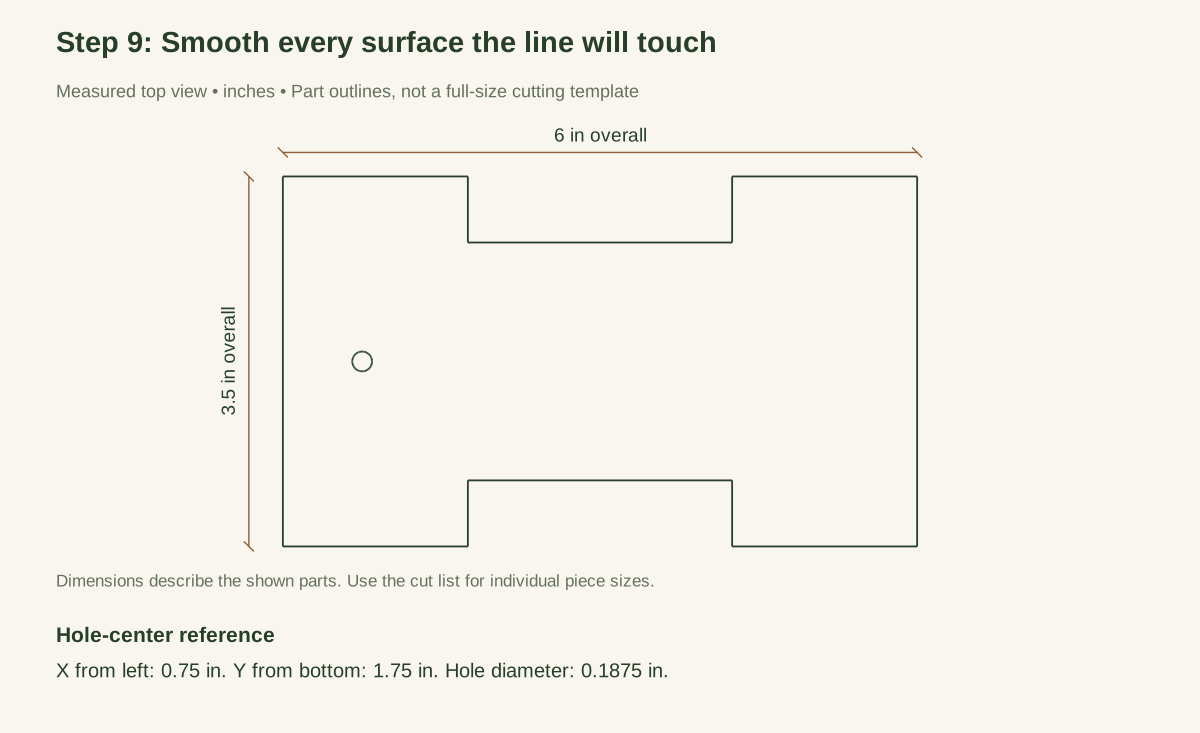
Scroll or swipe the enlarged drawing to read its dimensions. Choose Fit to see the whole drawing again.
Check: All line-contact edges are eased without changing notch dimensions or leaving a snagging splinter.
- 10
Check the final layout
Verify the 6 × 3-1/2 outline, 2-1/2-inch notch width, 5/8-inch notch depths, 2-1/4-inch web, and hole center. Mark the chosen line length on a clear part of the face. Check the finished empty winder beside a rule. The drawing is dimensioned for reading, not a claim that an automatically resized print is a tracing template.
Close-up · Whole model shows the complete part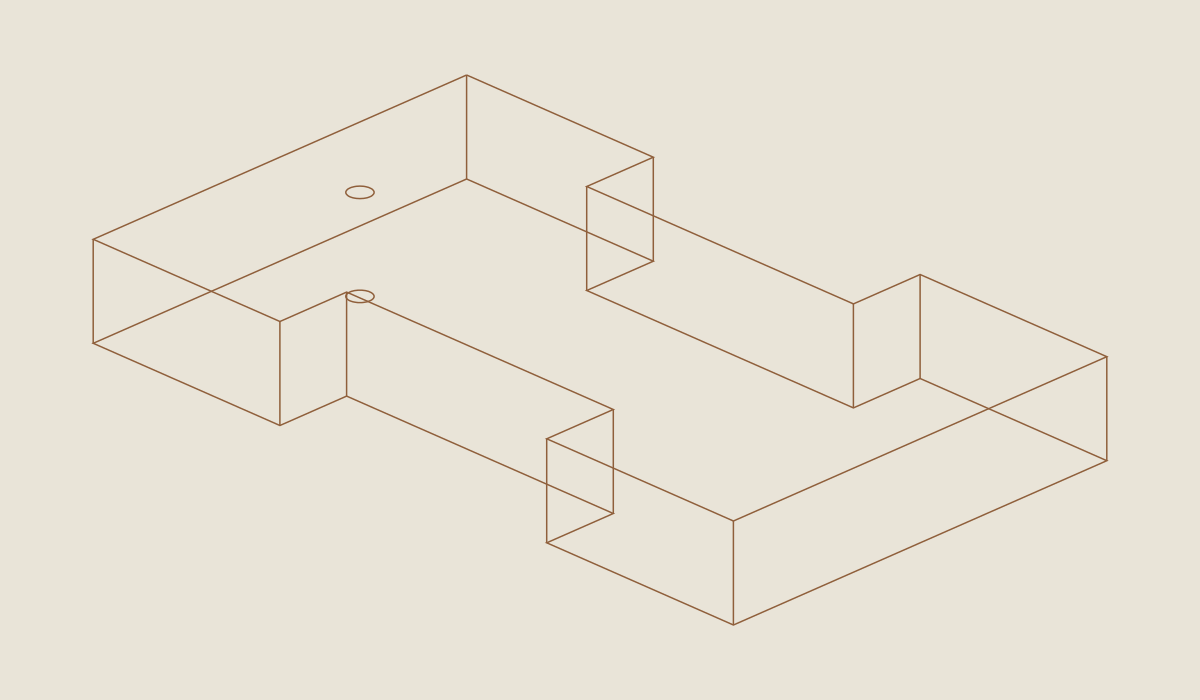
Loading the 3D view…
Drag to turn. Pinch or use + / − to zoom. The written step covers workholding and tool use.
Scroll or swipe the enlarged drawing to read its dimensions. Choose Fit to see the whole drawing again.
Check: Outside size, both notches, central web and retention-hole location match the dimensioned profile.
- 11
Attach the starting end without creating a rated lock
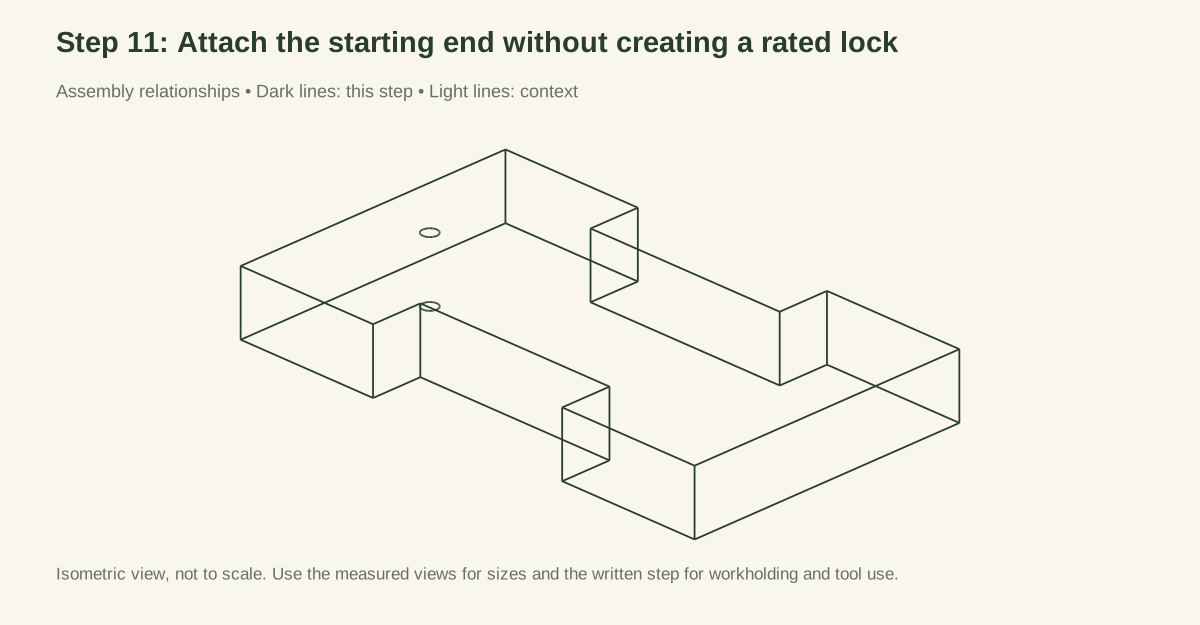
Pass a short end of the cord through the retention hole and tie a removable stopper knot that will not pull through under ordinary light handling. The knot is a storage attachment, not a rated anchor. Do not use the winder to tension the line by bracing it against a structure or pulling until the knot jams into the wood.
Close-up · Whole model shows the complete part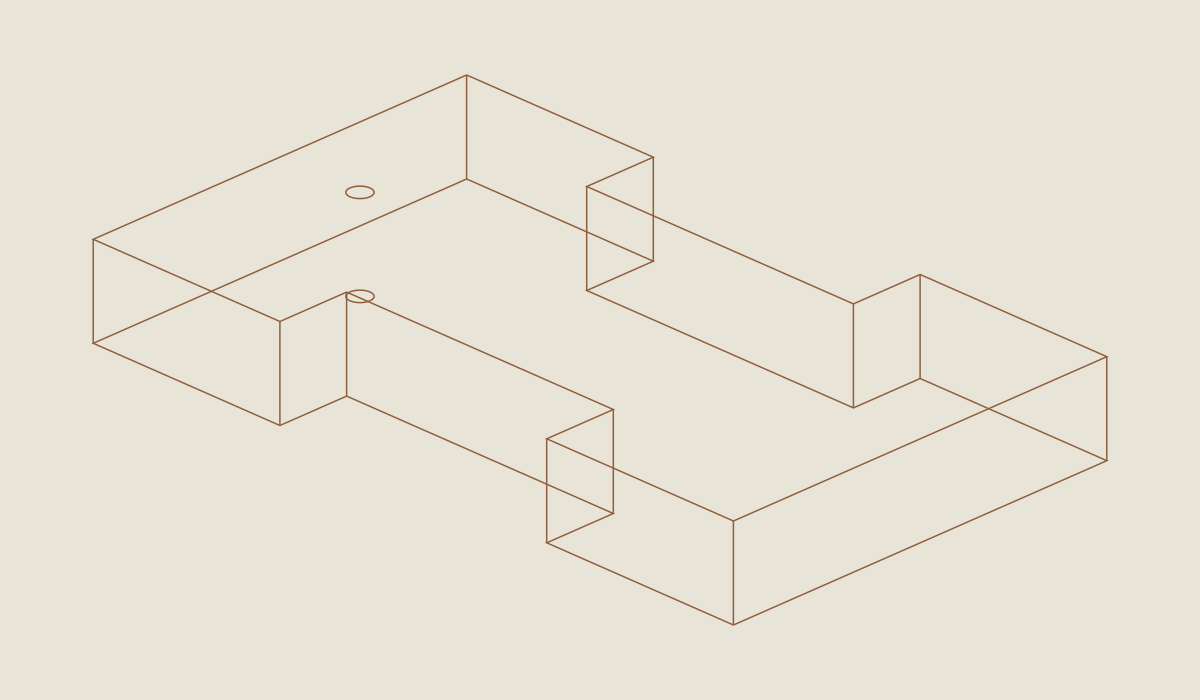
Loading the 3D view…
Drag to turn. Pinch or use + / − to zoom. The written step covers workholding and tool use.
Scroll or swipe the enlarged drawing to read its dimensions. Choose Fit to see the whole drawing again.
The retention hole secures a loose layout line; it is not a rated anchor.
Check: The starting line end is secured for storage only; no anchor, lifting or structural tension rating is implied.
- 12
Wind loosely around the recessed web
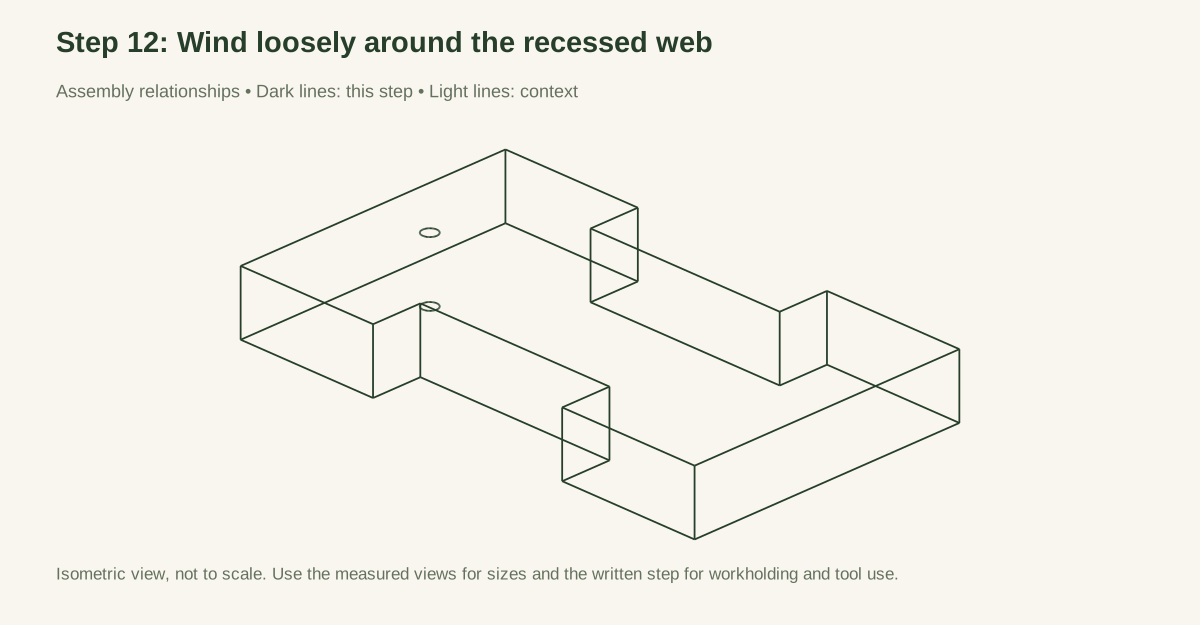
Bring the line across one notch, around the back face, and through the opposing notch so the wraps collect around the central web. Keep them orderly and just snug enough to stay together; excessive winding tension is unnecessary. Stop before the bundle crowds the notch shoulders. If the proposed 15-foot line does not fit comfortably, use less line and record the actual amount rather than claiming a universal capacity.
Secure the free end with a loose removable tie around the bundle or another clearly reversible storage method. Do not add a sharpened retaining slit that could cut the cord. Check that no long loop is hanging free when it goes into storage.
Close-up · Whole model shows the complete part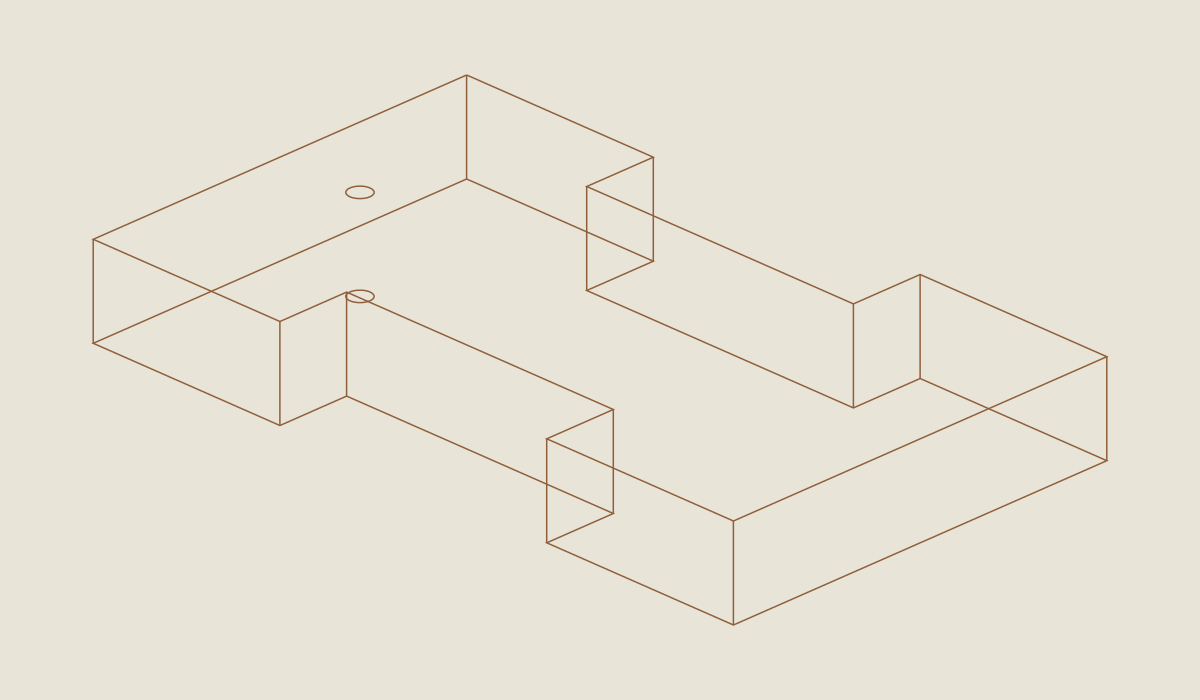
Loading the 3D view…
Drag to turn. Pinch or use + / − to zoom. The written step covers workholding and tool use.
Scroll or swipe the enlarged drawing to read its dimensions. Choose Fit to see the whole drawing again.
Check: The line winds loosely within the recesses and is stored without hanging loops.
- 13
Unwind for a temporary reference
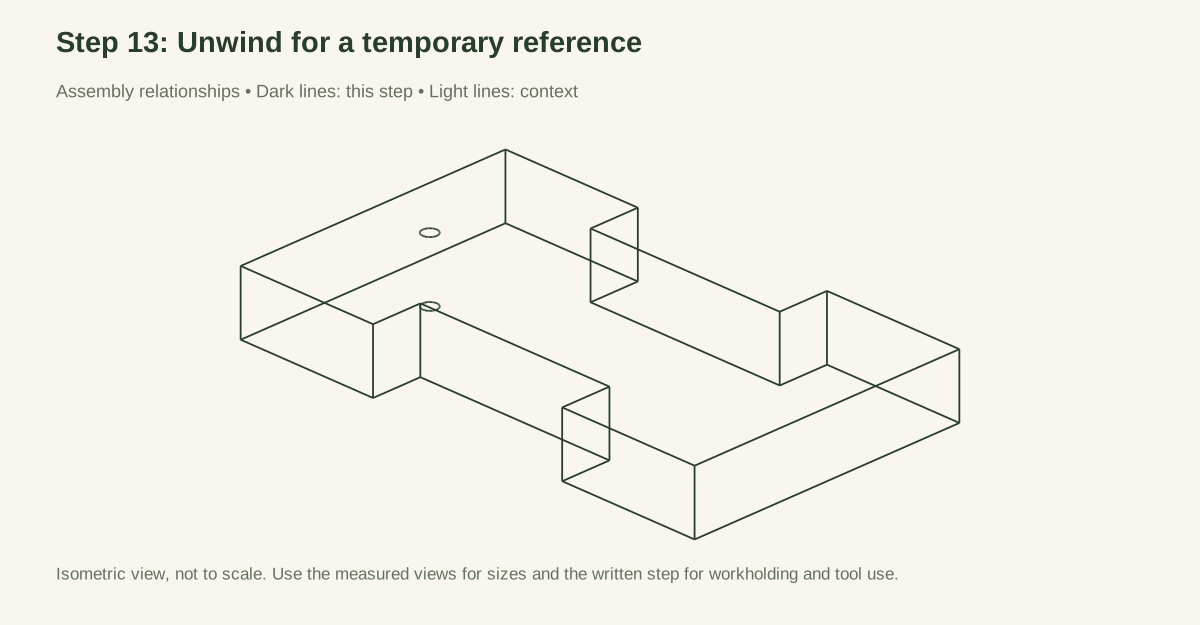
Take out only the line needed for the immediate marking task. Keep it visible and clear of circulation, machinery, people, and animals. Remove it as soon as the marks are transferred. This guide does not specify stakes or a ground-anchorage method, and it does not authorize probing unknown soil to fix an endpoint.
For straight bed layouts, compare the reference line to fixed measured datums rather than stretching it until it appears straight under high tension. A sagging or displaced line can produce inaccurate marks; the winder itself does not establish square corners or accurate dimensions.
Close-up · Whole model shows the complete part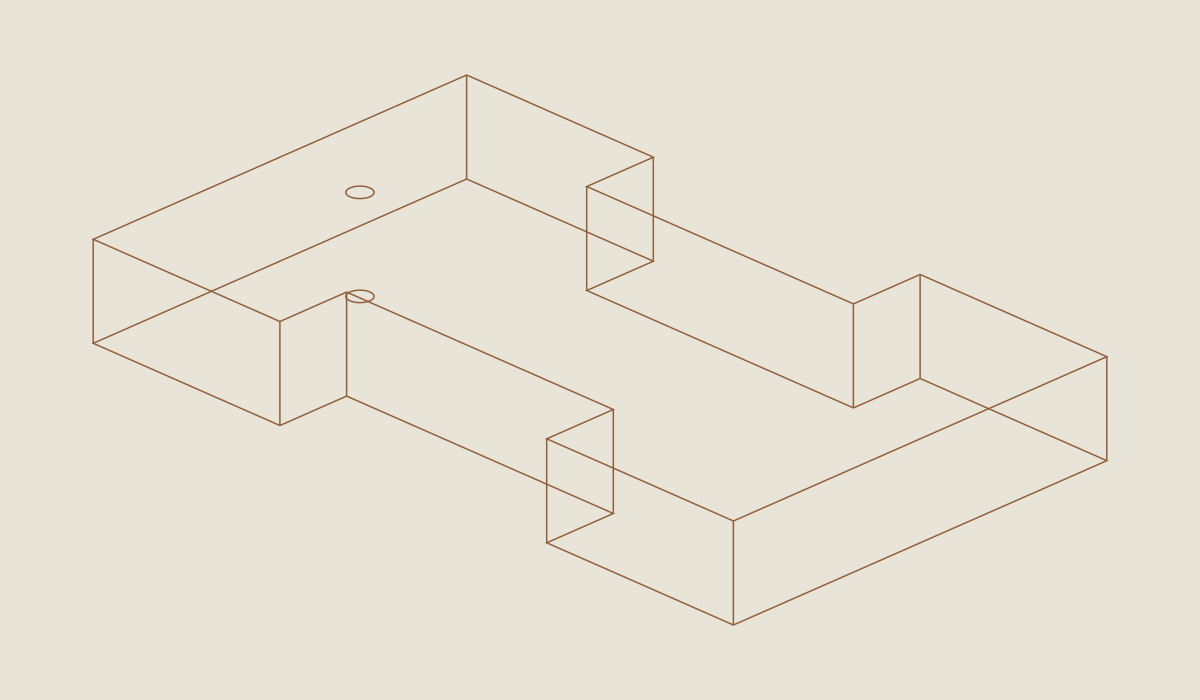
Loading the 3D view…
Drag to turn. Pinch or use + / − to zoom. The written step covers workholding and tool use.
Scroll or swipe the enlarged drawing to read its dimensions. Choose Fit to see the whole drawing again.
Use as a temporary layout reference, then remove the loose line.
Check: The unwound line is visible, temporary and clear of people, animals and machinery.
- 14
Clean, dry, and rewind after use
Wipe off loose soil and let the cord and wood dry before winding the line back on, just snug enough to stay together, as in step 12. Rewind while checking for frayed sections, hard knots, or contamination. Store where children and pets cannot reach the line. Do not leave a loop on the ground overnight or hang the winder from an exposed string that could entangle someone passing by.
Close-up · Whole model shows the complete part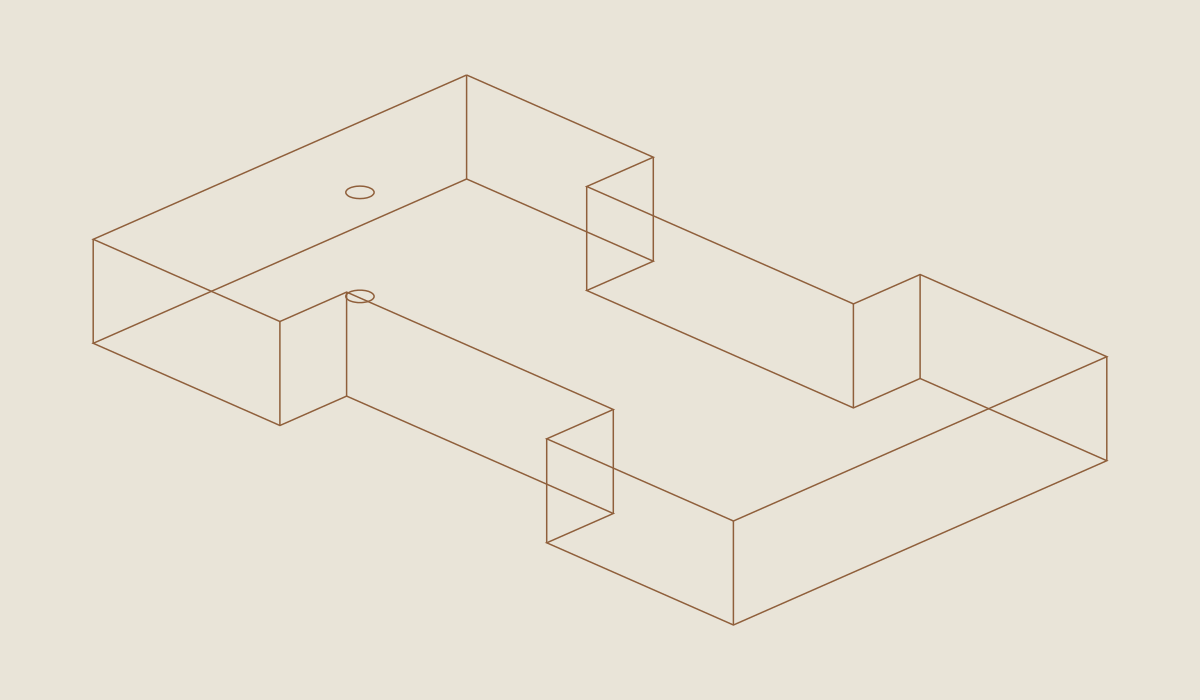
Loading the 3D view…
Drag to turn. Pinch or use + / − to zoom. The written step covers workholding and tool use.
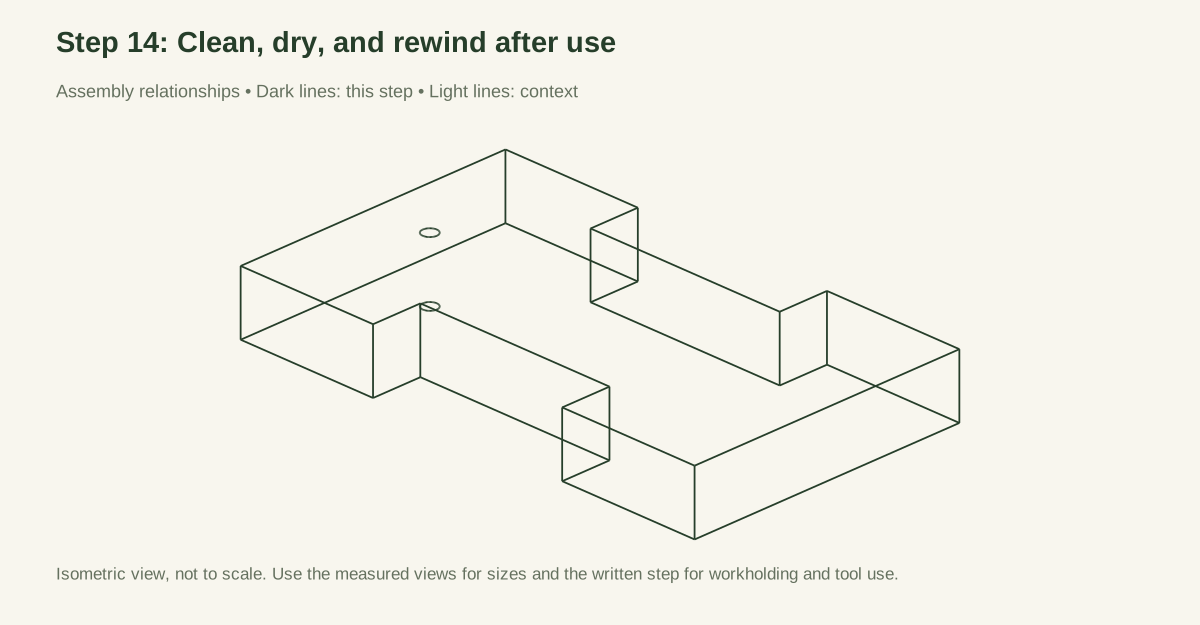
Scroll or swipe the enlarged drawing to read its dimensions. Choose Fit to see the whole drawing again.
Check: The line is recovered, the winder is clean/dry and every loop is secured before storage.
05 / Keep it sound
Care
After the build
- Trial a short loose winding before using the winder for temporary garden marks.
- Remove and rewind the line immediately after layout; a storage knot is not a rated load lock.
Check it each season
- Check the central web, notch corners, and retention-hole edge before each use. Look for splinters after wetting or impact. These are recommended use-based inspections, not a tested replacement interval. Replace damaged line and retire a cracked wooden blank; a low material cost is not a reason to keep using an object that catches fibers or sheds sharp pieces.
- The seed-spacing template can transfer measured centers beside a properly chosen baseline. Store the dry winder in the tool caddy only with the free line secured and kept away from sharp tools.
If something looks wrong
- Line frays at the same place
- Check: Sharp notch or retention-hole edge. Fix: Stop, smooth the contact point, and replace damaged line.
- Wraps fall off
- Check: Overfilled notch, loose bundle, wrong winding direction. Fix: Use a shorter line and rewind around the recessed web.
- Knot jams hard in the hole
- Check: Excessive pulling or unsuitable knot. Fix: Stop using it as a tensioning device; release under control.
- Web cracks
- Check: Defect, forcing the notch waste, impact. Fix: Replace the full blank; do not hide the crack with a finish.
- Line becomes a trip hazard
- Check: Poor temporary layout or unattended line. Fix: Remove it immediately and choose a safer reference method.
Keep exploring